
FOSDEM 2024 • Embeddable code playgrounds
Embeddable code playgrounds
for fun and profit
 Peter Zaitsev
 Anton Zhiyanov
Today I want to talk about interactive code examples in documentation.
According to the popular classification, there are four document types: tutorials, how-to guides, technical references, and explanations. Often these documents include static code examples to help the reader understand the material.
I believe that making these code examples interactive benefits both the reader and the author. To prove this point, I'll show how to make any type of documentation interactive — from programming languages to databases to custom software.
I'll demonstrate this approach using the open source tool we've developed, but the general principles apply regardless of the tooling.
I'll start with use cases for interactive code snippets, followed by solutions to common problems, and finally implementation.
I'll walk you through some use cases that benefit from interactive code snippets. Let's start with tutorials.
Imagine that you are the developer of the cloud storage service. You want to teach developers how to use your API, so you write a tutorial.
Suppose we store chat messages, where each message is a separate object. Let's add a message from Alice to Bob using a PUT request.
With an interactive example, the reader can submit the request right from their browser and immediately see the system's response.
Try clicking the Run button.
As you can see, the request was successful, although it returned a somewhat unconventional HTTP status 207.
The nice thing here is that the reader does not have to stick to the predefined code sample. For example, they can decide to create another message, this time from Bob to Alice.
Try changing
id=m-002,user=Bob,message=Hi, Alice!and click the Run button.
It was also successful. Great!
Let's make sure the messages were actually saved by retrieving them with a GET request.
Try clicking the Run button.
Yes, it's a message from Alice.
Now let's try changing the key in the URL to get Bob's reply.
Try changing ID in the URL to
m-002and click the Run button.
It's there, too.
The tutorial could go on, but I think you get the idea. Let's move on to the next use case.
Interactive examples in release notes help demonstrate new features and compare the new behavior with the old one.
Let's see an example.
Imagine that you are writing release notes for Go 1.22.
One of the long-standing problems in the Go world is that a "for" loop variable is not captured inside the loop. This is the source of the very common mistake illustrated by this code example.
Here we start 5 concurrent functions (called goroutines in Go), each of which prints out the value of the loop counter. Now, you'd expect this program to print the numbers 1 through 5 in some arbitrary order.
Here is what it prints instead:
Try clicking the Run button in the first example.
This behavior is finally fixed in the new release:
Try clicking the Run button in the second example.
Thanks to the interactive examples, the difference in the behavior is obvious.
The new Go release brought more features, but again, I think you get the idea. Let's move on to the next use case.
Interactive examples in reference documentation make it much more accessible to non-experts.
Let's see an example.
Curl, the command-line tool for making networks requests, has about 250 options. They are described in the curl man pages. The documentation is very extensive, but rather dry, like an excerpt shown on the slide.
Here we see a description of the json option. I'd say a couple examples would help the reader quite a bit.
This example shows the basic syntax for using the "json" option.
Try clicking the Run button.
We can see that the option makes a POST requests with the necessary HTTP headers like Accept and Content-Type, and sends the JSON in the request body.
We can check if curl validates the JSON before sending the request:
Try making the JSON invalid and click the Run button.
Looks like it does not, since the error we got is coming from the server and not from curl itself.
Another example might show how to post JSON from a file:
Try clicking the Run button.
Pretty self-explanatory. Let's move on to the next use case.
When explaining a complex topic, examples are a must. Interactive examples are even better.
Imagine you are explaining SQL upserts. An upsert in SQL is a query that inserts new records and updates existing records at the same time.
Here we have the employees table. We want to update the highlighted record (Emma) and also add a new record (Alice).
The "nice" thing about upsert is that each database vendor has implemented it in it's own unique way.
For example, MySQL calls it insert or replace:
Try clicking the Run button.
As expected, the query updates Emma's salary and adds Alice.
Postgres offers a completely different syntax with an on conflict clause.
Let's make sure that it gives the same result:
Try clicking the Run button.
Yep.
Now, the reader might ask: what happens if we change the "on conflict" clause? Let's find out:
Try changing
do update set...->do nothingand click the Run button.
So here Postgres still adds Alice, but does not update Emma's salary.
I can go on and on, but I hope I've convinced you that having interactive examples in the docs is a good thing.
Now let's talk about how to appoarch them.
The idea of code playgrounds is not a new one. But often people offering these playgrounds fail to understand one crucial thing.
A great writing experience is the key.
Writing documentation is hard enough. We should not make the writer's life harder. So focusing on the writer should be a #1 priority when developing a code playground.
And it also makes the reading experience more enjoyable.
Let's see what this means in practice.
As a tech writer, I usually already have some code examples in the documentation. All I have to do is make them interactive.
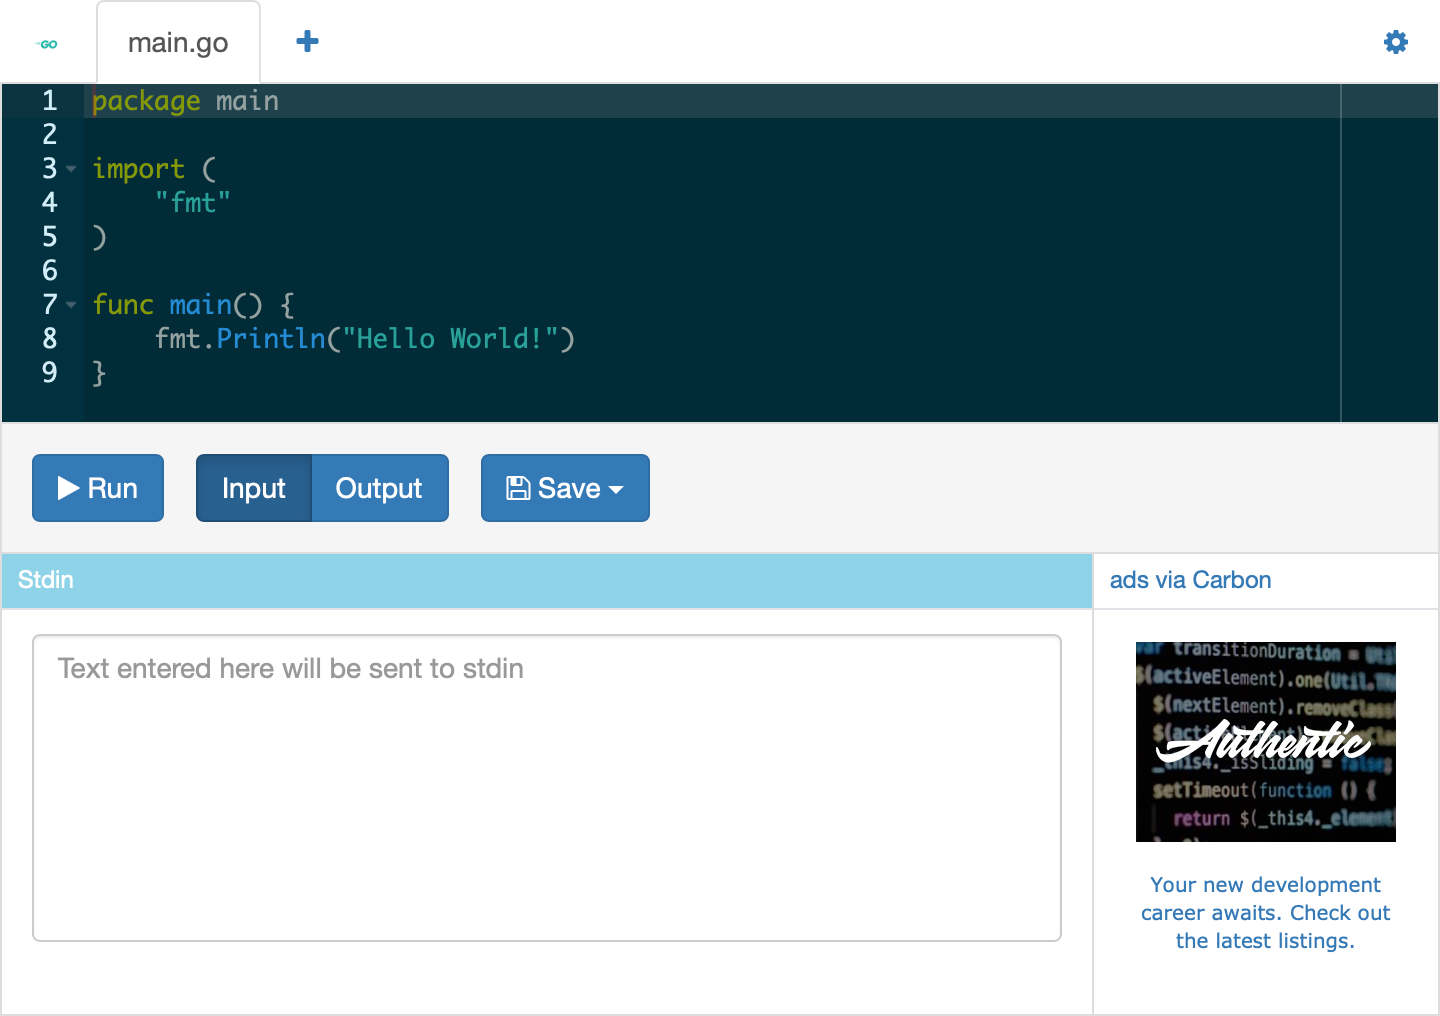
And yet, most code playgrounds look like this.
No offense, but I don't want that in my documentation.
What I want is take an existing document...
...and add subtle Run and Edit buttons for every code example.
Now, if the reader is not interested in interacting with examples, they'll just read the document as usual.
But if they are interested, they can run the code and see the result. Or maybe change the code a little bit and see how the result changes.
As a tech writer, I want to focus on writing, not integrating playgrounds.
I definitely do not want to write code examples elsewhere, and then go through some non-trivial process of embedding them back into the docs.
I'd rather write code examples the way I'm used to, without leaving my favorite editor.
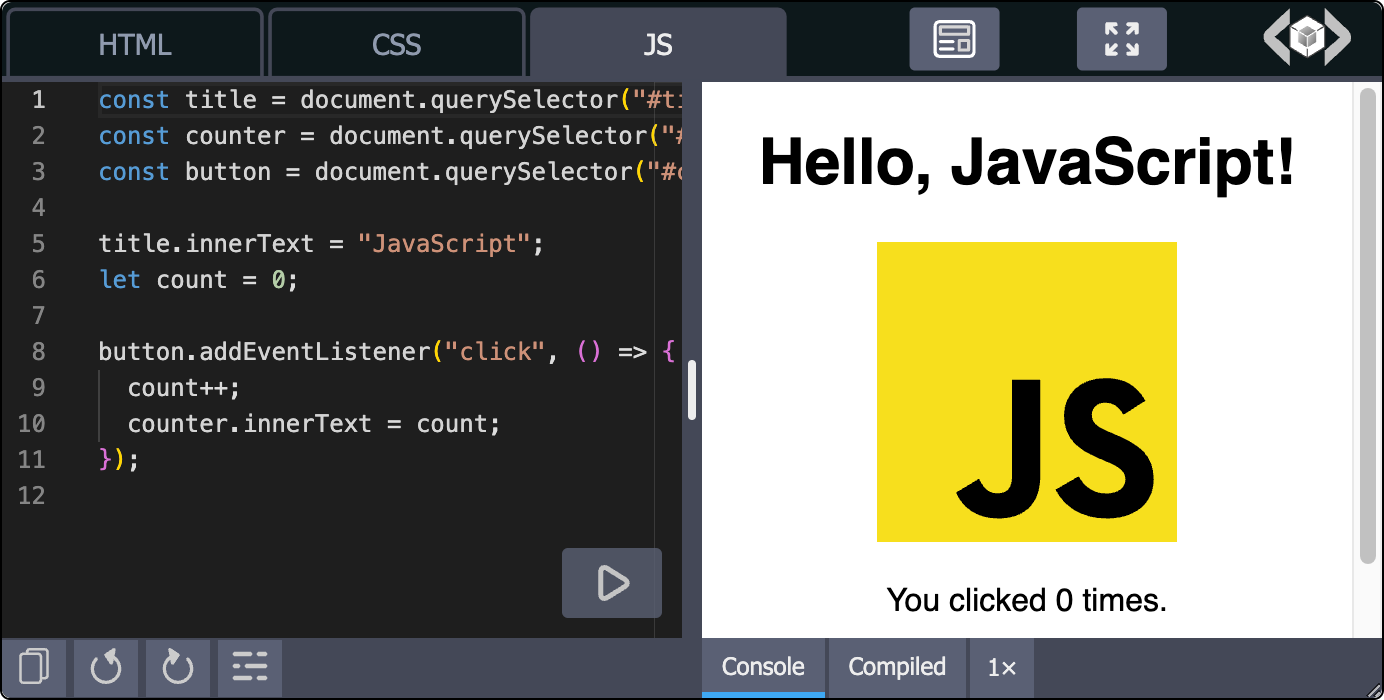
And then add a small widget for each code sample like this.
The widget should automatically attach itself to the preceding code block. Now the reader can run and edit the code like this.
Making "hello world" interactive is fine. But as a tech writer, I often deal with more complex scenarios. So a good code playground should support them.
Let's look at some examples.
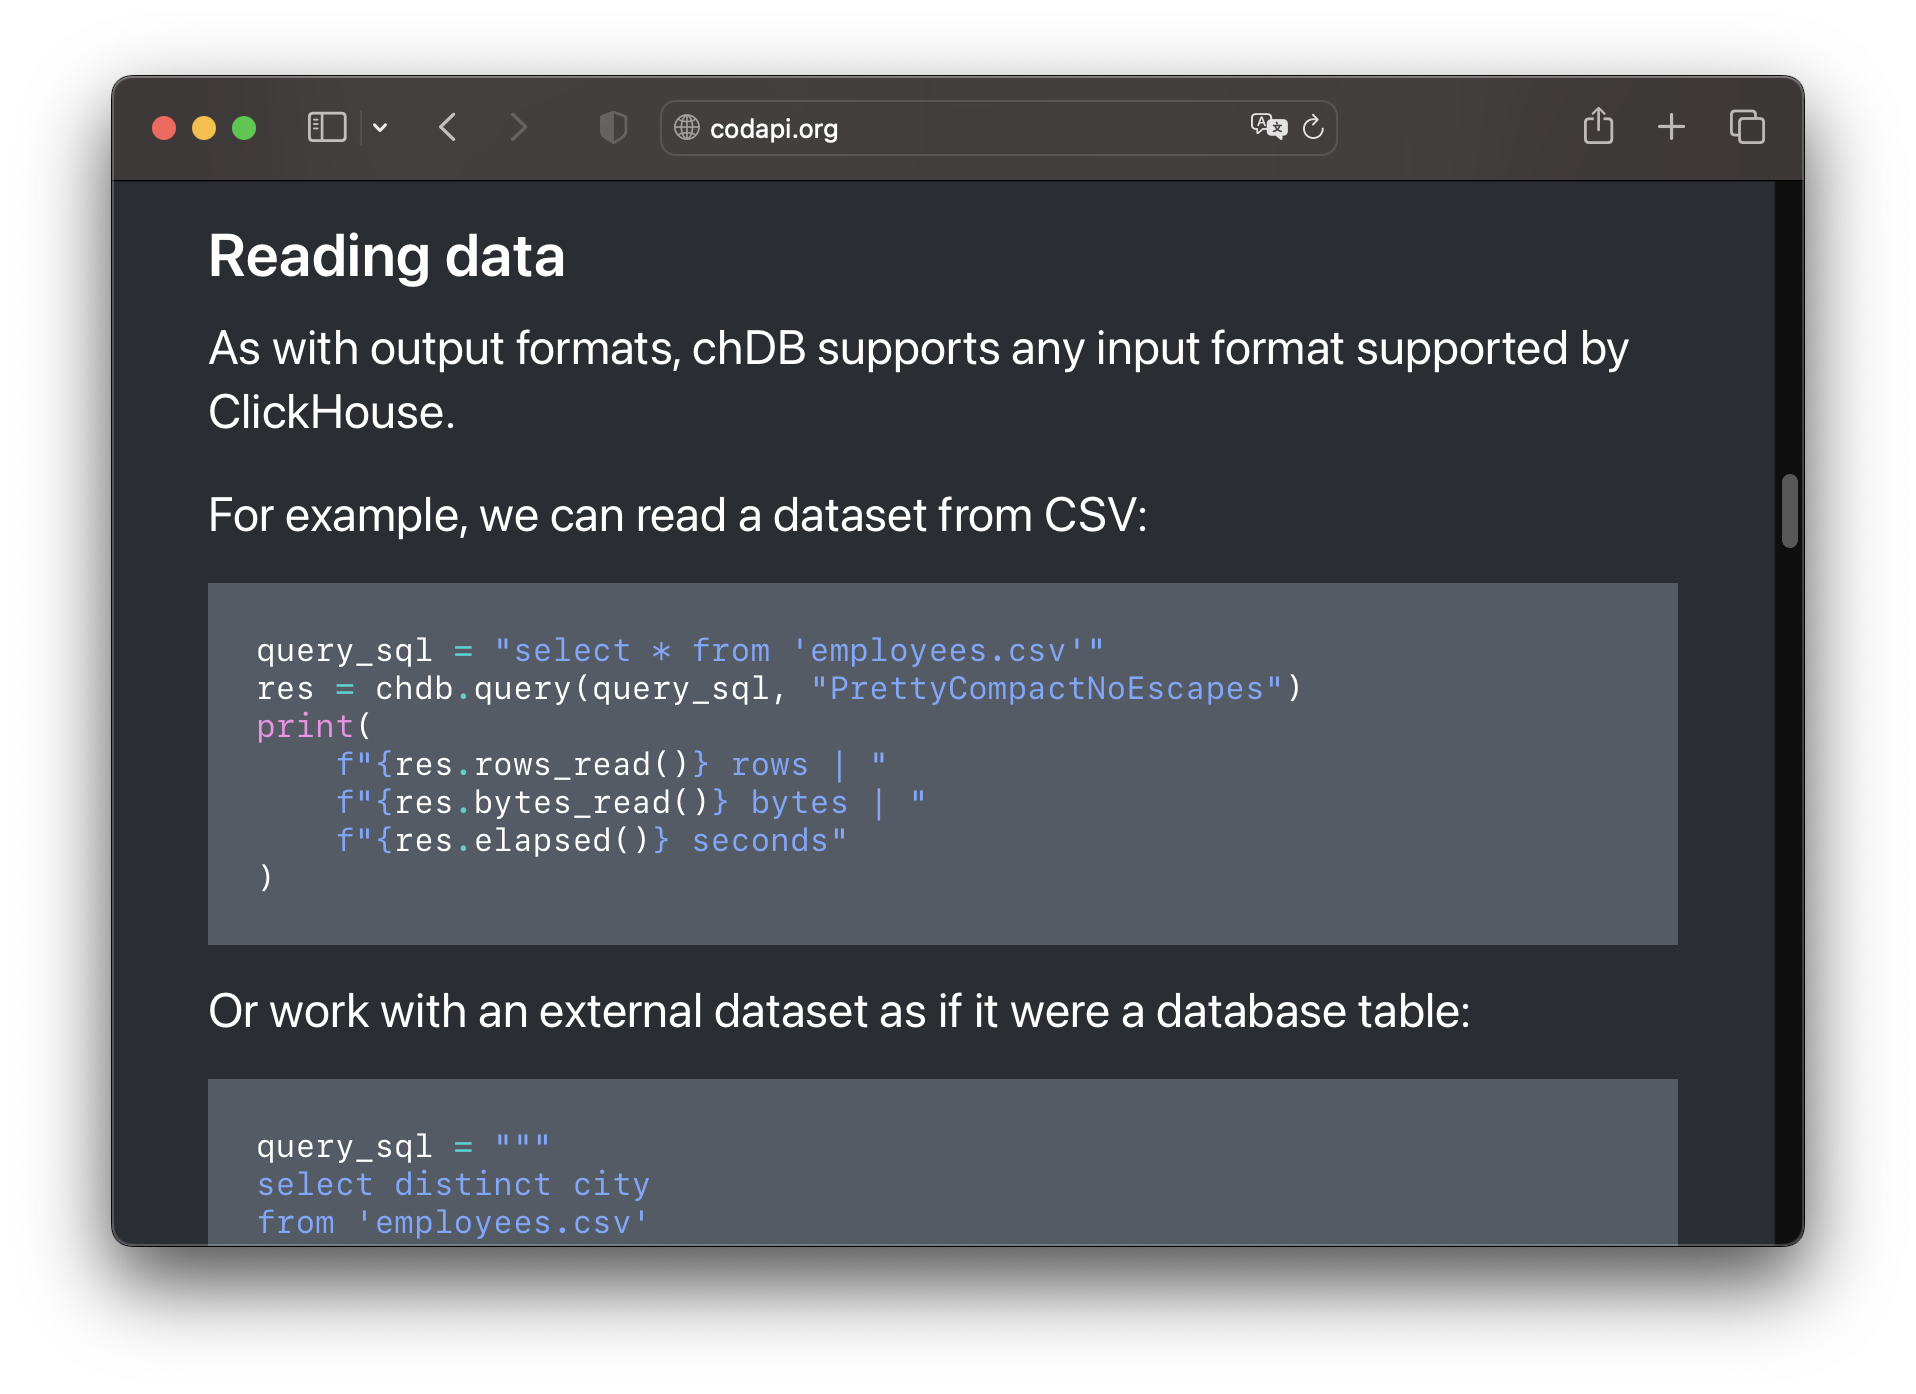
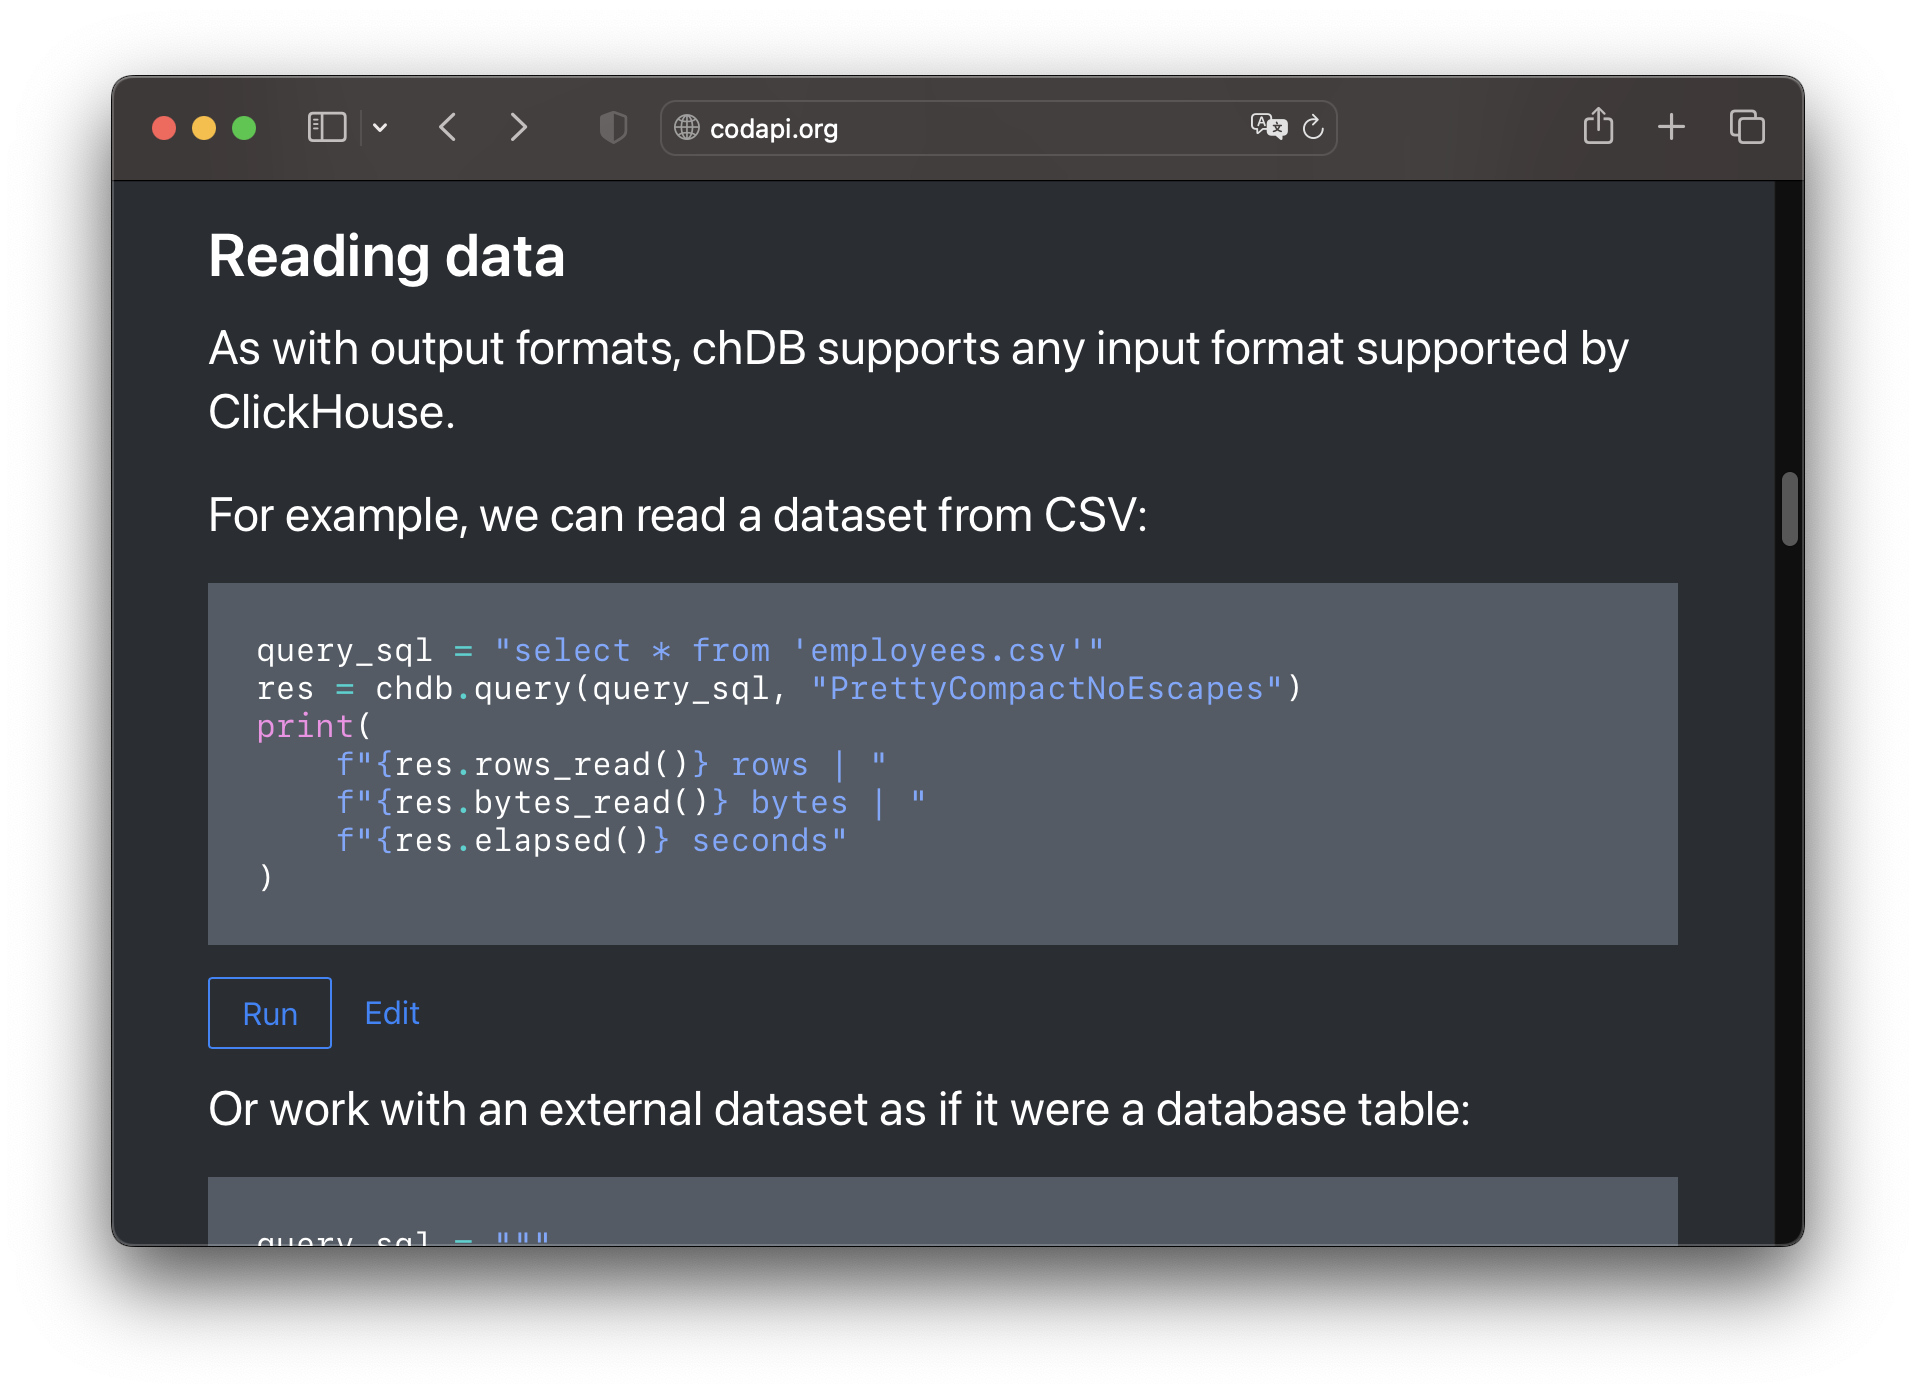
Let's say I am writing about data analysis in SQL. Here is a query that ranks employees by salary in each of the departments.
To show how the query works, I need to create a table and populate it with data. At the same time, I want the example to focus on the "select" part, and hide the rest.
The answer to this problem is templates.
Templates allow you to hide some code behind the scenes and show only the relevant part.
Here, we create the table and insert the data in the template, and reference it in the widget using the template attribute. The rest is automatic.
Let's say I'm writing a tutorial. Often I'll introduce simple concepts first, and then move on to more complex ones. I'll also make the complex examples build on the simple ones introduced before.
To support this, the code playground should allow one example to depend on others.
For example, the first snippet here defines the wrap function, while the second snippet uses it.
Try running the second snippet.
As you can see, the reader does not even have to run the first snippet before the second. It happens automatically.
Defining dependencies should be as simple as setting the id of the first snippet and referencing it with the depends-on attribute of the second snippet.
Finally, let's talk about implementing the interactive code samples.

As you can imagine, a playground consists of two parts. The first is the widget that the reader interacts with. The second is the sandboxed environment that runs the code.
As we've already seen, the widget is a JavaScript web component. So let's talk about the sandbox part.
Some things like JavaScript or HTTP calls are natively supported by the browser, so the playground should just use those browser APIs.
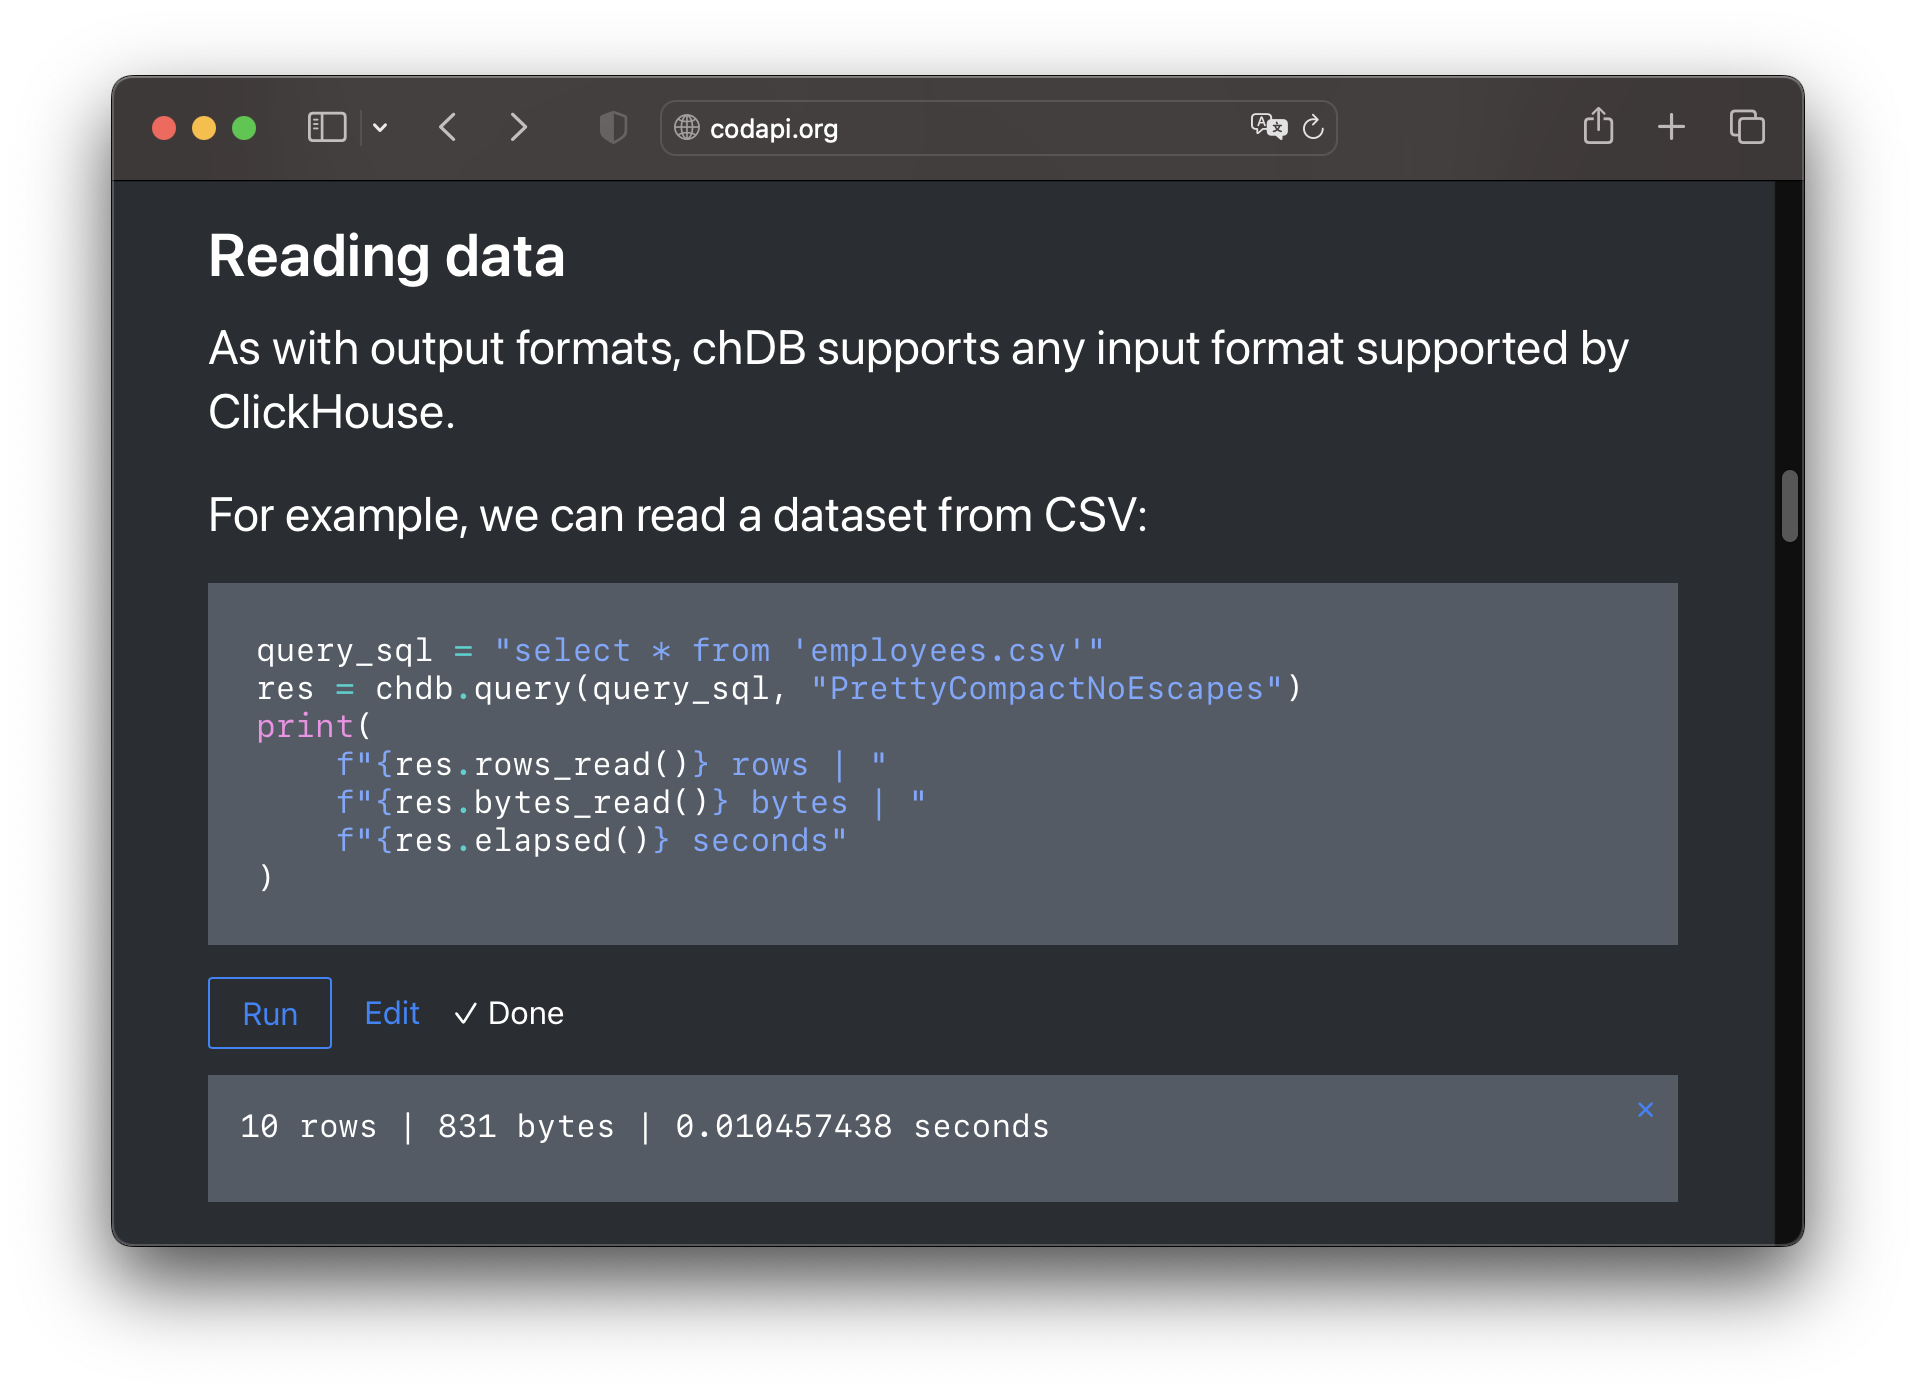
Other things, like Python or SQLite, are foreign to the browser. But we can still fit the entire language runtime into a WebAssembly binary and run it in-browser without using a server.
Finally, we can set up a dedicated sandbox server and run Docker containers on it. Then we can build sandboxes for any programming language, database, or software.
In this scenario, the playground widget sends the code to the sandbox server, waits for the response, and displays it to the reader.
As I mentioned earlier, I believe that most of technical writing benefits from interactive examples. That's why we've developed and open-sourced Codapi — a tool for embedding interactive code snippets virtually anywhere.
Codapi is available as a cloud service and as a self-hosted version. It is licensed under the Apache-2.0 license and is committed to remaining open source forever.
I encourage you to give Codapi a try. Thanks for listening!